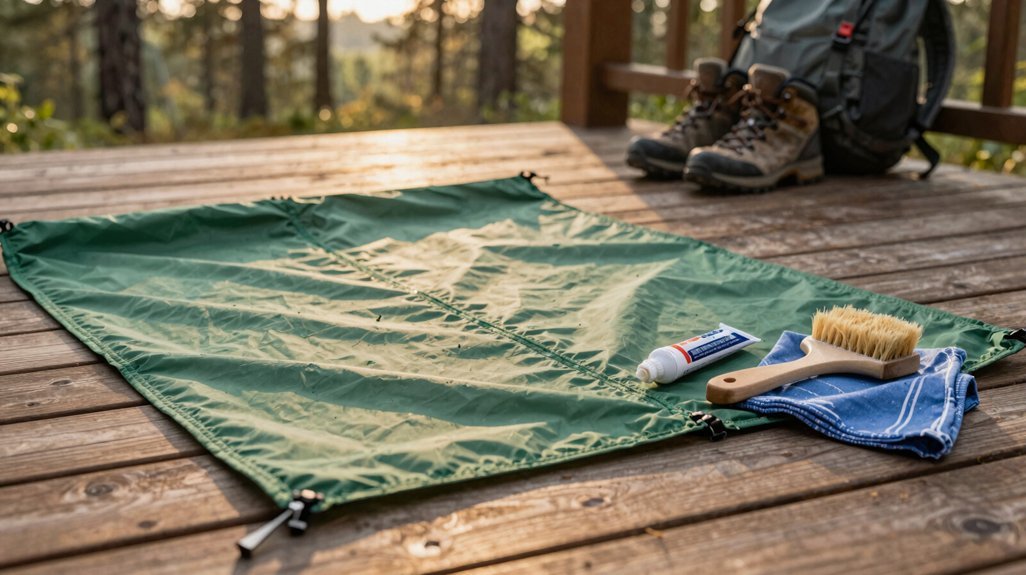
You’ve probably watched rain seep through your tent seams at 2 a.m., and that’s exactly why you’re here.
Seam sealing isn’t complicated, but most people skip the prep work and blame the gear.
I’ve made that mistake twice: once with a $400 mountaineering tent I ruined with the wrong sealant, and once with a budget dome that lasted eight years because I did it right.
The difference comes down to five specific steps, and the first one will save you hours of unnecessary work.
Check If Your Tent Actually Needs Seam Sealing
Why jump straight into seam sealing when your tent might already keep you dry? You should check for water leakage first. Spray your tent with a hose or wait for rain, then inspect those stitched seams carefully. You’re looking for damp spots or obvious drips that signal trouble.
Examine your factory seam tape closely. If you see flaking, peeling, or missing sections, that’s your cue that resealing is needed. I’ve watched perfectly good tents fail because owners ignored this simple check.
Your fabric type matters too. Polyurethane-coated fabrics often need interior sealing, while silicone-treated materials (silnylon) typically require exterior application. Don’t guess here. Check your manufacturer guidance before reaching for sealant.
Some tents arrive pre-sealed or use specialized tapes that don’t work well with aftermarket products. You’ll save yourself wasted effort and potential damage by confirming necessity first.
Recommended Products

Seal up to 24 ft of seams with 1.5 oz of this durable, clear adhesive that bonds permanently to silicone-treated (silynylon) tents

Seal up to 60 ft of seams on tents, tarps and awnings with this water-based seam sealant; cures in 2 hours at room temperature

12 percent silicone formula creates durable, long lasting waterproof bond to repel water, dirt and oil
Pick the Right Seam Sealer for Your Tent Fabric
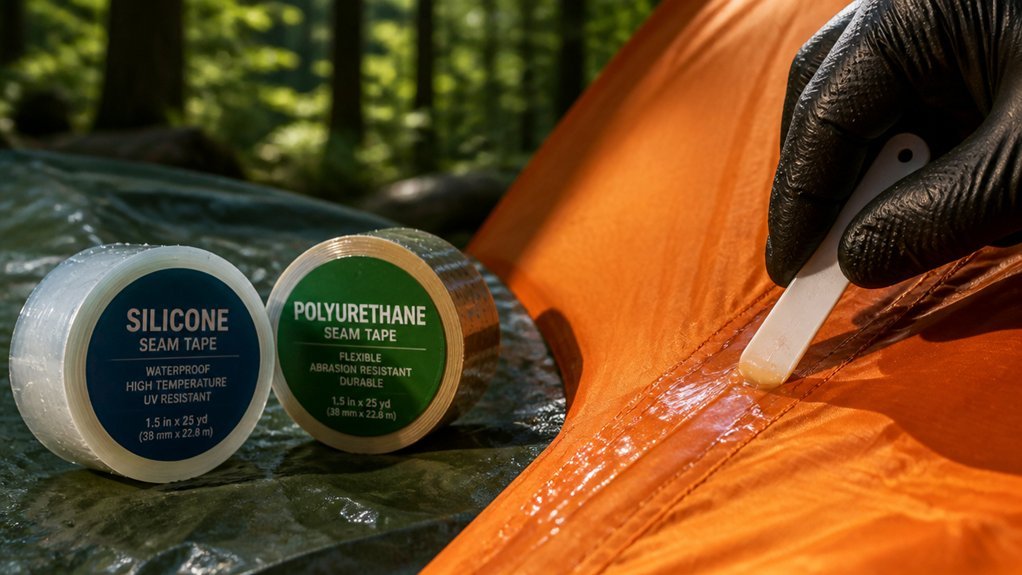
How do you know you’re grabbing the right bottle? You check your tent fabric, then match it to the seam sealant designed for that material. Fabric compatibility isn’t optional; it’s what keeps your shelter dry.
For silnylon tents or tarps, you’ll want silicone sealant. It bonds properly and won’t peel away. Polyurethane sealant works for PU-coated fabrics, like standard nylon tents. Some brands make this simple: Seam Grip WP handles wet polyurethane, FC suits fabric-coated nylon, and SIL covers silicone fabrics.
Double-check your tent’s specs. I’ve grabbed the wrong tube before, wasted an afternoon, and watched my work fail in the first rain. Don’t repeat my mistake.
If factory tape looks intact, you might skip sealing entirely, but damaged tape demands the correct product. Match sealant to fabric, and you’ll seal once.
Recommended Products

Permanent Repairs – Seal seams and fix holes in tents, tarps, awnings, rainflies, and gear like Thermarest sleeping pads with a flexible, waterproof adhesive.

Tent Seam Sealer: Seam sealer tent can quickly and effectively seal seams and repair cracks, holes and other damage on the tent, restore the integrity of the tent fabric, and extend the service life of the tent

Seal up to 24 ft of seams with 1.5 oz of Seam Grip SIL, a durable, clear silicone sealant that bonds permanently to silicone-treated (silynylon) tents, backpacks and gear
Thin Your Seam Sealer So It Spreads Smoothly
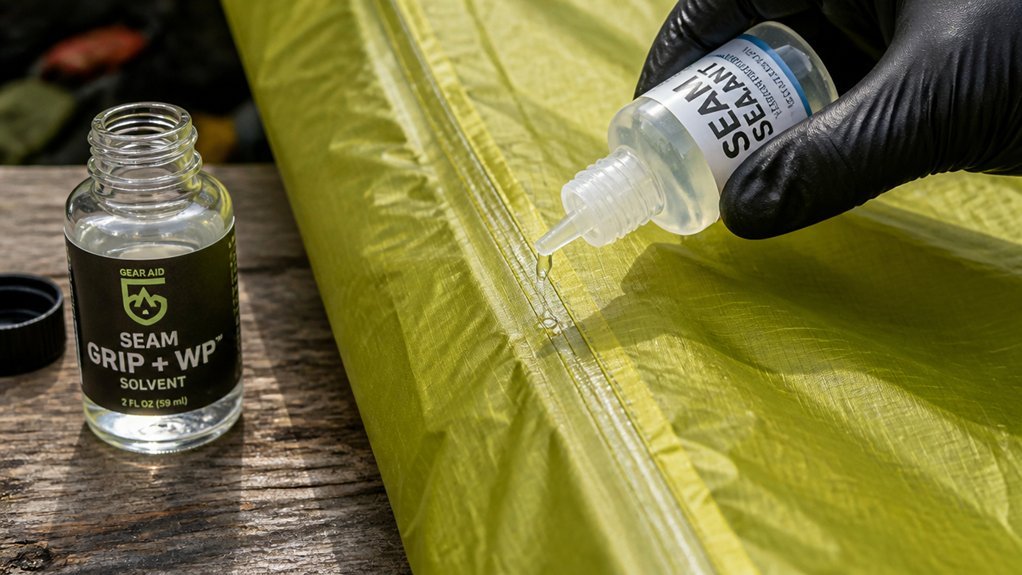
When exactly should you thin your seam sealer? You’ll know it’s time when your premixed formula feels like cold honey at room temperature but still won’t spread into an even coat over seam tape.
Viscosity matters here. If the product resists smooth application, add tiny amounts of mineral spirits or other thinning agents. Temperature shifts help too: warm the tube slightly or work in a warmer space to achieve that ideal flow without adding anything.
I’ve found a thinned seam seal lets you lay down a precise waterproof barrier that covers needle holes without pooling. An elbow syringe works brilliantly for this. You’re aiming for control, not runniness. Get the consistency right, and you’ll build a lasting seal that actually protects your tent through seasons of use.
Recommended Products
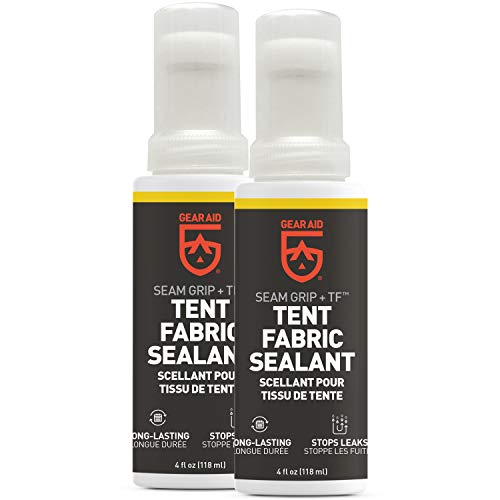
Seal up to 85 sq. ft. of nylon tent floors, rainflies and tarps with this 4 fl oz tent sealer; previously known as Tent Sure

Seal up to 85 sq. ft. of nylon tent floors, rainflies and tarps with this 4 fl oz tent sealer; previously known as Tent Sure
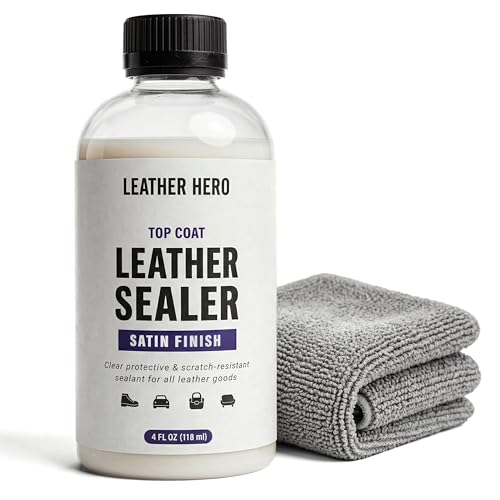
Smooth & Satin Finish: The leather sealant leaves leather looking and feeling new with its satin finish with the super shine leather finish to make leather color restoration simple and fast.
Apply Seam Sealing to the Inside of Your Tent First
Because water always finds the weakest point, you’ll want to stop it from the inside out. You’ll apply seam seal to the interior seams first, letting it penetrate those needle holes from the shiny side of the fabric. This creates your primary waterproof barrier where leaks actually start.
Mask your zippers and mesh with tape before you begin. You don’t want sticky sealant gumming up moving parts.
Work methodically through these interior seams:
- Floor-to-wall connections where pooling occurs
- Peak and ridge lines bearing runoff
- Window and vent perimeters, often overlooked
- Guy-out points and reinforcement patches
Use a thin, even layer with a small brush. Less is more here; excess just cracks later.
Respect the curing time. Most sealants need 6 to 12 hours undisturbed. Once fully set, you’ll run a quick leak test with a spray bottle to catch any gaps before the sealant fully hardens.
Spray Test Your Seams and Fix Any Still-Leaky Spots
The real test comes when you finally put water to fabric. You’ll want your tent fully dry before you start; trapped moisture gives false readings and wastes your time.
Grab a hose and run a spray test on the exterior seams first. Work methodically, soaking one section at a time, then check inside for any water penetration. If you spot leaking spots, mark them immediately with tape so you don’t lose track.
Reapply seam sealant precisely along any compromised seam. Let it cure completely, then test again. Still seeing drips? Seal both interior and exterior sides of that seam for full coverage. I’ve learned this the hard way on a rainy ridge in Colorado.
Repeat until no water sneaks through. Your patience now means dry nights for seasons to come.
Recommended Products
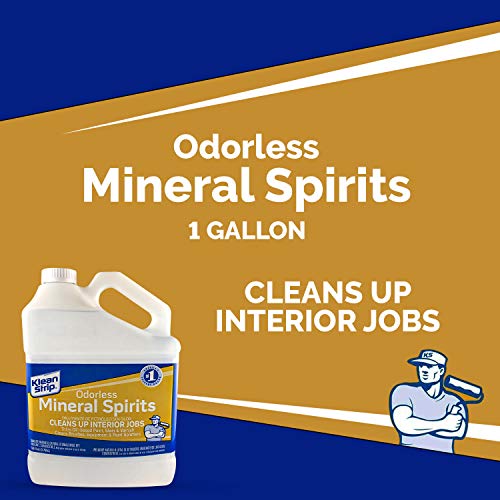
Cleans up interior jobs

Item No. P10200

Highly Refined Solvent: This odorless mineral spirits formula effectively thins and blends well into oil-based paints, stains, and varnishes. It can be used as a paint thinner substitute without the unpleasant odor.