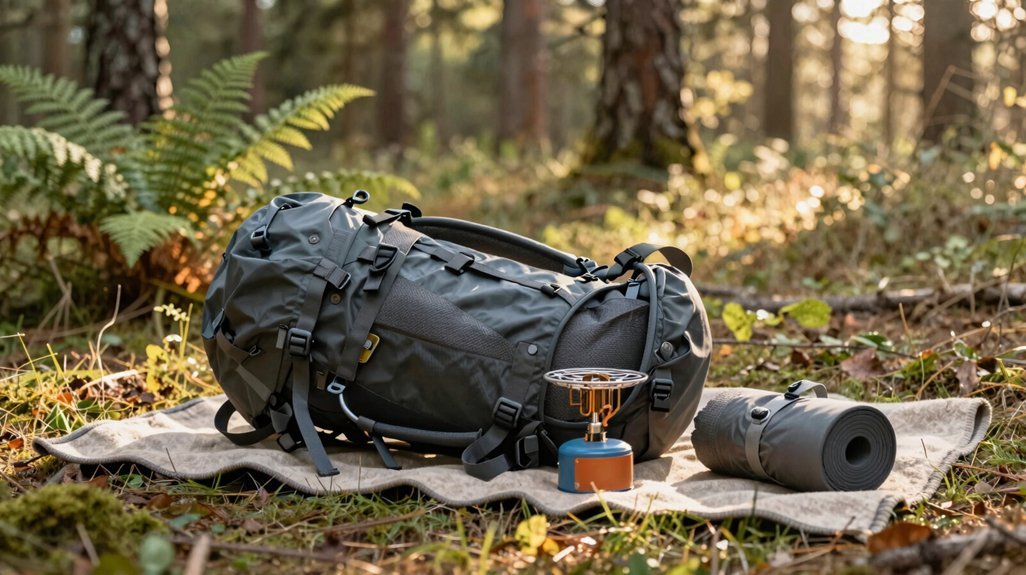
Your backpack is a puzzle where every piece must find its purpose. You lay your gear across the floor like a survivalist’s blueprint, and you spot the duplicates you’ve packed out of fear, the gaps you’ve ignored out of optimism. I’ve spent fifteen years refining this ritual, and I still forget my headlamp sometimes.
You’ll compress your sleeping bag to the size of a football, you’ll nestle your stove against your spine, and you’ll wonder why your shoulders ache on mile three. The answer lives in step four.
Prep Your Gear Before Packing Your Backpack
Why start packing blind when you can lay everything out first? Gear prep saves you from the “where’s my headlamp?” panic at dusk. Spread everything on the floor, you’ll spot duplicates and gaps immediately.
Think through your packing order before touching the bag. Your sleeping system anchors the bottom, but don’t stuff it yet, just visualize. Consider weight distribution now: heaviest items (food, fuel, bear canister) belong against your spine, mid-back.
Quick-access gear (rain jacket, snacks, first-aid) needs designated homes in lid or hip pockets. Grab a liner bag for moisture protection; trash compactor bags work perfectly. Rolling your base layer fills dead space. Packing cubes organize small items. This ten-minute ritual prevents the repacking dance you’ll hate three miles in.
Recommended Products

【Selected High Quality Materials】The compression packing cube set is made of 210D Nylon three-part fabric with PU waterproof coating, soft and lightweight, tear-resistant and extensible. With plated smooth zipper. High-end zipper head, easy to stretch and very durable.

Premium Fabric: This tactical packing cubes set is made of 610D Cordura fabric and YKK Zippers, 3 Sizes: Small 7.3*2.3*5.3in(0.075kg); Medium 9*2.7 *6.2in,(0.1kg); Large 10.6*4.3*7.8in(0.13kg).
Load the Bottom With Your Sleep System First
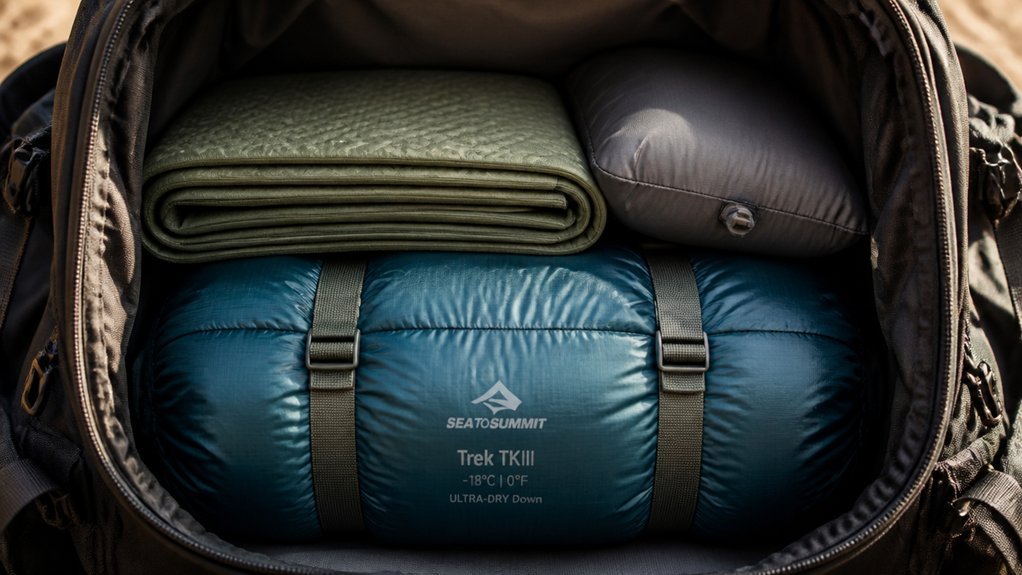
You’ll start by stuffing your compressed sleeping bag into the very bottom of your pack, which creates a stable foundation that molds to your lower back. Next, you’ll slide your sleeping pad alongside or on top of the bag, since that highly compressible foam or inflatable pad adds a cushioned layer that protects everything above it.
You’ll finish the bottom zone by stuffing base layers and other clothing you won’t need until camp into any gaps, which locks the load in place and prevents that annoying shifting that throws off your balance on mile three (or mile thirteen).
Recommended Products

Free up 40% additional space: Frelaxy Compression Stuff Sack is an incredibly simple and practical solution to space-saving, they will give you more space to pack what you need and give you an unprecedented portable experience.

Free up 40% additional space: Frelaxy Compression Stuff Sack is an incredibly simple and practical solution to space-saving, they will give you more space to pack what you need and give you an unprecedented portable experience.

Free up 40% additional space: Frelaxy Compression Stuff Sack is an incredibly simple and practical solution to space-saving, they will give you more space to pack what you need and give you an unprecedented portable experience.
Sleeping Bag Placement
Since you’ll be carrying everything on your back for hours, it makes sense to start packing where the weight matters most: the very bottom. You want your sleeping bag at the bottom of pack, compressed tight in a compression sack for maximum space efficiency.
This packing order matters more than you’d think. A compressed sleeping bag creates a stable base that protects pack stability and improves weight distribution. You’re building from the ground up, literally.
Stuff your sleeping bag into the main compartment first, using a compression sack to reduce bulk by 30-40%. Surround it with soft items like extra clothing to prevent shifting and maintain that stable base. Position it before heavier gear so you don’t throw off your center of gravity.
Get this layer wrong, and you’ll feel every mile.
Pad Positioning Strategy
Once your sleeping bag‘s locked in, you’ll slide your sleeping pad directly on top of it. You’ve already stuffed that sleeping bag into a compression sack and formed the pack base. Now the sleeping pad fills gaps and bulks out the bottom layer.
This pairing creates your bottom brick. The compression sack keeps the sleeping bag tight against the back panel. The sleeping pad adds cushioning and structure. Together they anchor weight distribution where it belongs: low and stable.
You’re building stability before adding heavier gear. Keep this sleep system as your foundation. It keeps the center of gravity down. That bottom zone supports everything above it.
Stack upward from here. The pack stays balanced. You’ll feel the difference on mile eight when your shoulders aren’t screaming.
Base Layer Organization
Where does a stable pack actually start? You’ll build it from the very bottom with smart backpack organization. Here’s how you nail stability at the pack base:
Shove your sleeping bag into a compression sack first; this creates a solid, compressible foundation. Slide your sleeping pad right above it for cushioning and extra support. Tuck base layers and non-day-use clothing into any gaps to lock everything in place.
This setup turns your sleep system into a cohesive unit. You’re cheating gravity by keeping weight placement low and centered, which prevents that dreaded sag when you’re scrambling over rocks. Proper load distribution here means you won’t fight your pack for balance. Get this layer right, and you’ve already won half the battle for all-day comfort.
Pack Heavy Gear Near Your Back in the Middle
Why do so many hikers end up fighting their pack on steep switchbacks? They’ve botched their interior packing. You won’t make that mistake.
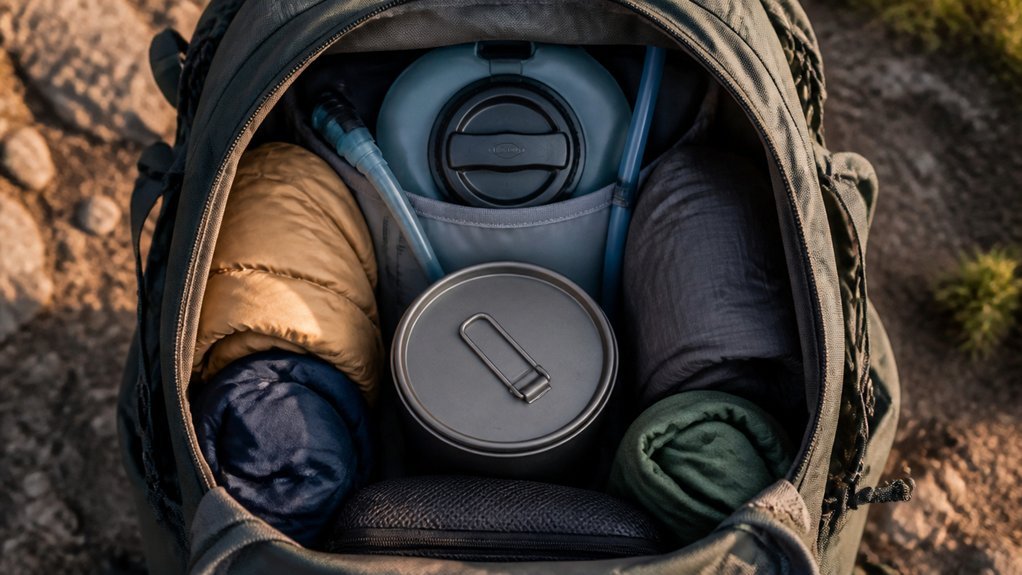
Place your heavy gear, like food canisters and water reservoirs, against the back panel in the center of pack. This creates proper spine alignment and keeps your center of gravity where it belongs: over your hips.
Stack dense items vertically through the mid-pack, building a stable base above your sleeping bag. You’re aiming for balanced load distribution that won’t pull you backward or tip you sideways on uneven ground.
Avoid stuffing bulky items in exterior pockets; that leverage works against you. Instead, maintain tight weight distribution close to your body. Get this right, and you’ll barely notice the load on a ten-mile day. Your back will thank you after twenty years of trails.
Recommended Products

【Enhance Sleep Comfort】The mattress connector strap securely fastens the mattress, effectively preventing gaps and discomfort, helping you enjoy a more restful sleep

【COMFORT IS PRICELESS IN EVERY CAMPING TIME】The super soft and cozy memory foam camping mattress is made of high-density memory foam material, automatically adapts to the shape and weight of the body and provides full protection. So bring about excellent comfort and shock absorption effects. Compared to sleeping bag and camping air mattress, sleeping mattress for camping providing camping lovers with a high-level sleeping experience, allowing your body to fully rest and keep energetic.

COMFORTABLE DESIGN: Foam and 75D polyester for soft outer layer
Keep Daily Essentials at the Top
How often do you tear apart your entire pack just to grab a rain jacket when the sky opens up? You can avoid this mess by keeping daily essentials at the top for quick-access retrieval.
Your day-use essentials belong in the brain/lid or top-access zone. You’ll want lightweight items like trail snacks, sunscreen, and maps above heavy items in the main compartment. This preserves balance while keeping necessities within easy reach.
For items you need constantly, use these storage spots:
- Outer pockets: rain gear, water bottles, and your spork
- Hip-belt pockets: small electronics and current maps
- Top of main compartment: first-aid kit and water filter
You’re maintaining a simple rule: quick-access items stay high or forward, while heavier gear sits lower and closer to your back. No more unpacking everything for a granola bar.
Recommended Products

Stay Dry: With 2L waterproof membrane shell, center-front zipper with external storm flaps, blocks moisture by using materials that prevent water absorption, so you stay dry in wet conditions with this raincoat.
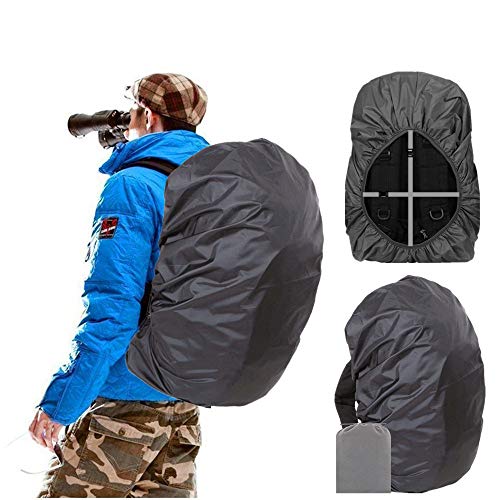
UPGRADED BUCKLE STRAP: keep backpack rain cover in position, Prevent backpack cover from sliding off. FOR 40-50L BACKPACK: Length(9.8-13.7"), Width(5.9-9.8"), Height(21.6-25.5")

【Stay Dry】: With 2L waterproof membrane shell, center-front zipper with external storm flaps, blocks moisture by using materials that prevent water absorption, so you stay dry in wet conditions with this raincoat.
Use Lid and Hip Belt Pockets for Quick Access
You’ve got your daily essentials near the top, but now let’s talk about the real time-savers: your lid and hip belt pockets. These external pockets change your backpack organization from frustrating to fluid.
Stash small essentials in your lid pouch: lip balm, snacks, headlamp, hat, gloves. You’ll grab them without breaking stride. Your lid pockets excel at top-front access items; slide your first-aid kit or multitool here for instant deployment. Keep bear spray, lighter, sunscreen, and maps in these zones for rapid response.
Your hip belt pockets handle the critical gear you’ll need while moving. Secure zippered versions prevent loss on rough terrain. Don’t overfill external pockets; loose items tumble out when you scramble. Prioritize balance; heavier items stay near your back. Master this quick access system and you’ll move efficiently through every mile.
Recommended Products

Part of a coordinated system for optimized packing. Customize your experience by adding on smart packing and organization accessories that meet your exact needs.

Material: Made of 300d oxford cloth, water-resistant

Ultralight 5-Piece System: The G3 Storage Pouch set includes XS–XL sizes to organize camping essentials, use as packing cubes for travel, or hiking gear. Storage bags are essential backpacking gear.
Strap Bulky Items to the Outside If Needed
Where do you stow gear when your pack’s already bursting at the seams? You’ll need exterior attachment points to reclaim space.
When your pack’s bursting at the seams, exterior attachment points become your best friend for reclaiming precious space.
- Use daisy chains and gear ties to lash your tent body or sleeping pad to the outside of pack
- Position heavy items low on the sides to protect your center of gravity
- Tighten compression straps after securing bulky items outside to stop shifting
Loosen interior compression straps first, then add external loads. This prevents weight re-shifting afterward.
Reserve this method for infrequently used gear. You’ll keep daily essentials inside for quick access. Tighten everything down, or you’ll hear rattling on uneven terrain.
Recommended Products

DESIGNED FOR CARRY-ON & BACKPACK TRAVEL: Ultralight, compressible packing cubes sized for carry-on luggage or backpacks.. Keeps travel essentials organized for flights, cruises, backpacking, or international trips without adding bulk or weight.

How to Compress: The cube is compressed by the middle zipper; Using steps: 1)Fold and flatten clothes 2)Pack clothes in the cube and zip the front zipper 3) Put a finger on the back of the middle zipper when compressing to avoid zipper get stuck in fabric
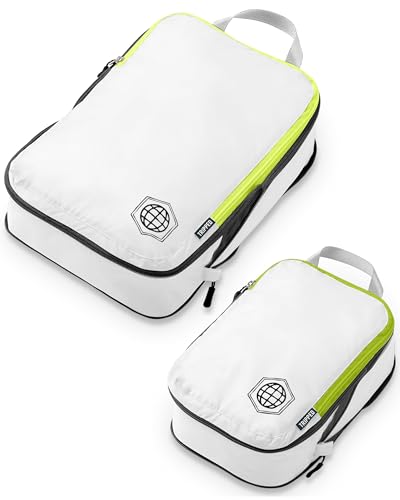
DESIGNED FOR CARRY-ON & BACKPACK TRAVEL: Ultralight, compressible packing cubes sized for carry-on luggage or backpacks.. Keeps travel essentials organized for flights, cruises, backpacking, or international trips without adding bulk or weight.
Line Your Pack to Keep Everything Dry
Once you’ve strapped everything down outside, you’re not quite done protecting your gear. You need solid waterproofing inside, too.
Grab a trash compactor bag and use it as a pack liner. Line the entire pack interior with it. This gives you excellent moisture protection at basically no weight cost. I’ve learned this the hard way after a soaked sleeping bag ruined a trip.
Place your sleeping bag and other moisture-sensitive items directly against this liner. You want that dry base at the bottom. For extra protection, pair your pack liner with a separate dry bag or roll-top dry bags. Dry sacks alone work, but they’re often heavier and abrasion-prone.
Here’s the key for dry-to-damp separation: keep wet gear inside the main compartment, but outside the liner. This prevents cross-contamination.
Repack each morning to re-air your bags. You’ll reduce odor and keep your system working longer.
Recommended Products
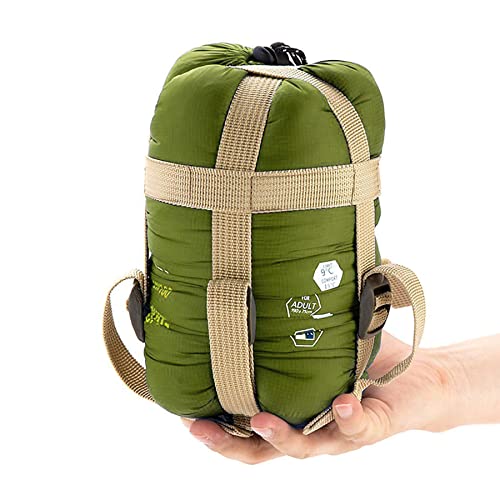
【Ultra Comfort & Durable】Outer material: Nylon (Waterproof and Durable), Lining:100% Polyester (Breathable and skin-friendly), Premium Polyester keeps the temperature from 55 to 60℉ and provides a ultra-comfort sleep environment to people.
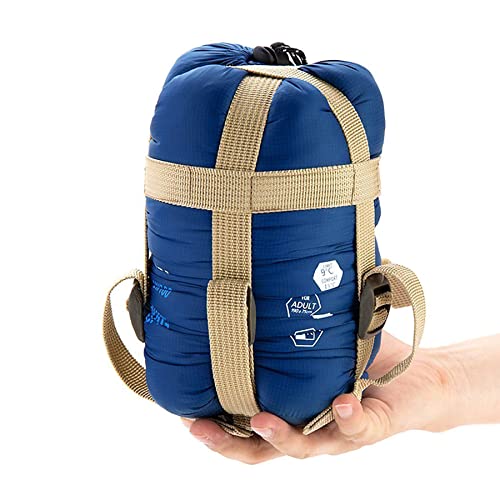
【Ultra Comfort & Durable】Outer material: Nylon (Waterproof and Durable), Lining:100% Polyester (Breathable and skin-friendly), Premium Polyester keeps the temperature from 55 to 60℉ and provides a ultra-comfort sleep environment to people.

Free up 40% additional space: Frelaxy Compression Stuff Sack is an incredibly simple and practical solution to space-saving, they will give you more space to pack what you need and give you an unprecedented portable experience.