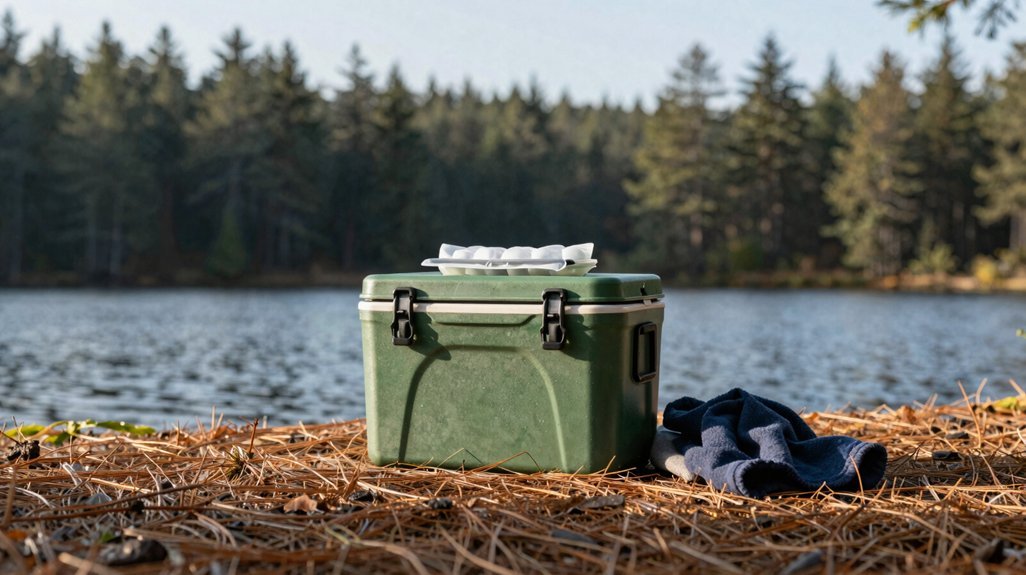
Your cooler is actually a thermal battery, not just a box, and most campers drain its power before they even pack it. You probably throw room-temperature food straight in and hope for the best. That mistake costs you two days of ice life, maybe three.
The fixes are simple, but you have to know which ones actually move the needle. I learned this the hard way in the Mojave, watching forty dollars of ice become soup in thirty-six hours. Seven techniques separate the weekend warriors from the people who still have solid cubes on day four.
Pre-Chill Your Cooler Before You Pack It
Why does your ice vanish before lunch on day two? You’re skipping the pre-chill step, and your cooler pays the price. A warm cooler, straight from your 98-degree shed, devours ice like a furnace. You need to pre-chill that space first.
Fill your cooler at least half full of ice, then close the lid. Let it sit overnight, or better yet, a full day. The meltwater that forms conditions the interior, dropping the temperature deep into the thirties before you ever start packing. You’re essentially training the cooler to hold cold.
Keep that ice and meltwater inside for 24 hours or more. Check after a few hours; you might need to add more depending on your starting temperature. When you finally load up, your ice lasts.
Recommended Products

HOW TO USE COOLERPAK: Fill with water, freeze overnight, then snap it into your cooler. Enjoy long-lasting cold for all your adventures. For best results, freeze your Coolerpak up to 48 hours. **DO NOT MICROWAVE CoolerPak Snap Series!

Non-toxic Ultratherm gel delivers extended cooling performance

LASTING COLD - Our durable ice packs for coolers and lunch boxes are colder than ice at 18° F (-8° C) to keep your favorite foods and soft drinks cold all day.
Use Twice as Much Ice as Food
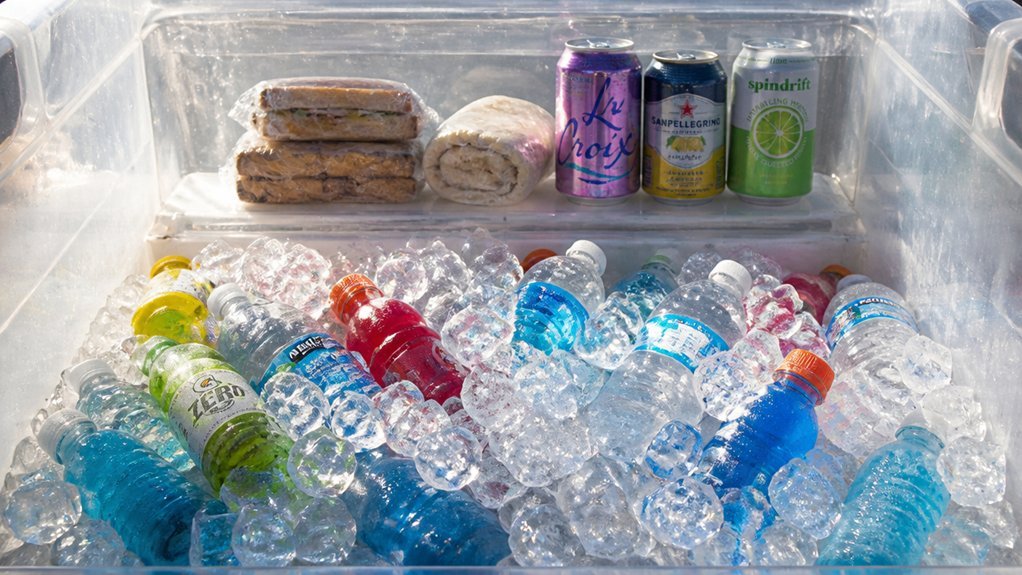
Two pounds of ice for every pound of food. That’s your baseline for solid ice retention on the trail. Pack pre-chilled foods, and you’ll stretch every cube further. Skip room-temperature items; they’ll sabotage your cooling efficiency fast.
You want ice blocks, not loose cubes. Large blocks or frozen bottles (two-liter jugs work great) melt slower than bagged party ice. Mix in some smaller pieces, though; they fill gaps and fine-tune temperature control.
Fill your cooler with ice first, then nestle your cold items inside. This approach locks in chill and sets you up for smart meltwater management; that slurry stays cold, so don’t dump it hastily. Top off with fresh ice as needed. You’ll maintain low temps without constant lid-lifting.
Recommended Products

Protect Little Ones From Hot Seats: Don't allow intense heat to compromise your child's comfort. Our kids car seat cooling pad cools down the seats within minutes making it an ideal car seat cooler for protecting babies sensitive skin and preventing burns.

Self Insulated all-in-one baby car seat cooler - No need to install any gel packs!

Protect Little Ones From Hot Seats: Don't allow intense heat to compromise your child's comfort. Our kids car seat cooling pad cools down the seats within minutes making it an ideal car seat cooler for protecting babies sensitive skin and preventing burns.
Pack in Layers to Remove Air Space
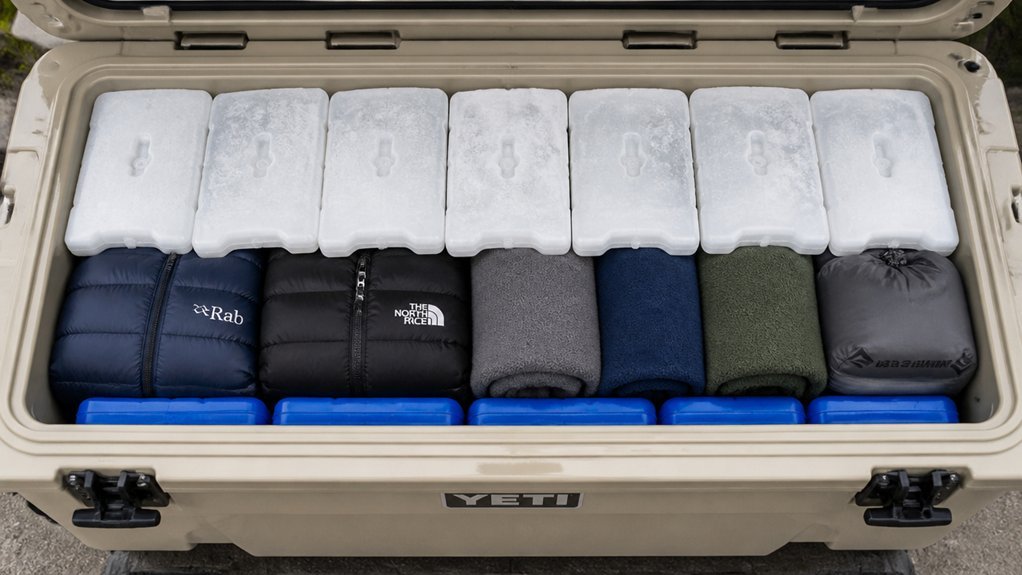
You’ve got your ice-to-food ratio locked in. Now nail your cooler packing strategy with smart layers that squeeze out every air gap.
Start with a solid base layer of ice. Stack your pre-chilled food and drinks on top, then bury them under more ice. You’re building a cold sandwich, basically. This 2:1 ice-to-food setup isn’t just about quantity; it’s about eliminating dead space where warm air lingers.
Got nooks and crannies left? Stuff them with extra ice or a towel. Air gaps are the enemy here; they let heat rush in every time you crack the lid. Work fast when you’re grabbing something, then seal it back up tight.
For bonus points, slip some insulation between layers. A thin foam pad works to slow convection and keep blocks separated from your contents.
Recommended Products

BEST SIZE FOR COOLERS: Extra Large 13 x 10 and only 1/2 inch thick; stop wasting space and increasing weight with ice and thick ice packs; also suitable for reusable shopping bags, ice boxes, etc
Not C02: Not Dry Ice - No Smoke Affect

LONG-LASTING: Freezes solid and stays cold for hours, helping keep food, drinks, and perishables at safe temperatures longer than regular ice.
Keep Your Cooler Shaded and Insulated
Where exactly are you setting that cooler down? You’ll want to find solid cooler shade under a tree, tarp, or vehicle. Direct sunlight kills ice retention fast.
Your insulation strategy matters just as much. Lay a closed-cell foam pad underneath, toss a folded wet towel in the lid, and sandwich Reflectix (that reflective bubble insulation) around the walls if you’ve got it. These barriers block conductive heat from the ground and radiative heat from above.
Don’t skip the pre-chill step either. You should freeze your cooler overnight and pre-chill drinks beforehand. Warm items suck ice life immediately. Pack a base ice layer, add your cold goods, then top with more ice to seal air pockets shut.
Finally, tackle meltwater management before it becomes a problem. Slip cardboard, a dry bag, or an interior cover between ice and food. This keeps contents cold but not soggy, extending your chill by hours.
Recommended Products

This waterproof outdoor mat has double sided aluminium foil and inside is made of EPE.

20 Hours Retention: Sparter backpack cooler is insulated with thickened 8 mm foam, together with advanced silver PEVA seal to keep beverages cool up to 20 Hours throughout the day for beach picnic, hiking, camping, trip, boating, baseball / golf and work.

Reflective Window Insulation: Our rv window insulation is well-made, which is weight of 200 g / 10.76 sqft. It is of good material and long-lasting
Save Meltwater Instead of Draining It
You’ll get more mileage from your ice when you treat meltwater as an ally rather than a nuisance. That slushy liquid holds serious thermal mass, keeping your cooler conditioned for 24 hours or longer if you resist the urge to pull the drain plug.
Keep your food raised above the meltwater with containers or a dry bag. Cover it with a foam pad or folded towel to block heat exchange, and you’ll maintain a cold, moist environment without soggy sandwiches.
Recommended Products
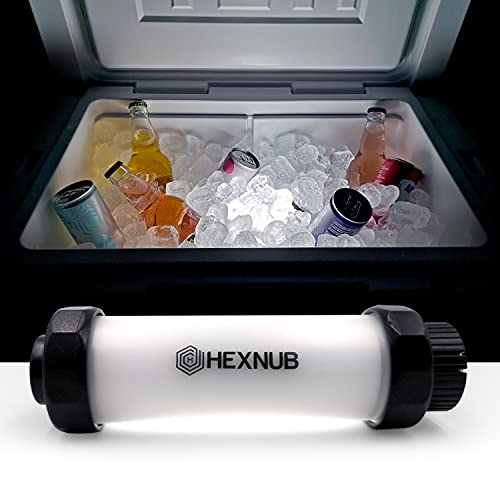
ULTIMATE COOLER ACCESSORY FOR OUTDOORS: Light up your cooler with ease using the HEXNUB Cooler Box Light. Designed to work with YETI, RTIC, ORCA, Ninja FrostVault, Igloo, Coleman, Pelican, Titan, Playmate and other popular cooler brands, this rechargeable LED light helps you quickly find drinks, food, bait, and essentials in low light. Ideal for camping, fishing, hunting, boating, tailgating, and outdoor events.

ONE SIZE FITS MOST: Hat Circumference: 21-23 inch, Hat Height: 4.5 inches, Brim Length: 3.5-3.9 inch, Chin Drawstring Length:11.99 x 2 inch. One size is suitable for most.
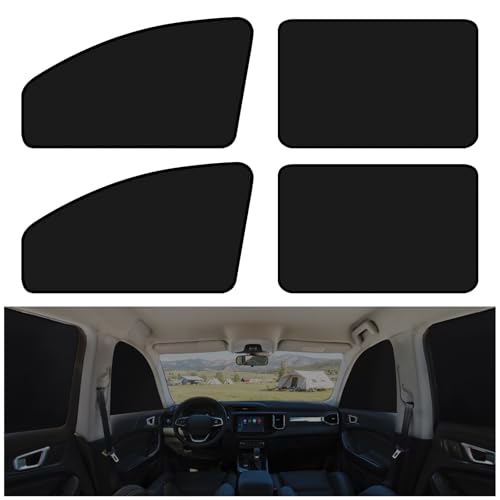
Magnetic Blackout Car Window Shades for Privacy: These magnetic car window shades are designed to fully cover side windows and create a darker, more private interior space. The blackout fabric blocks outside visibility and sunlight, making your car more comfortable during travel or rest
Thermal Mass Benefits
Meltwater isn’t your enemy; it’s actually a hidden ally in your fight against the clock. You harness thermal mass when you keep that cold water inside, creating a reservoir that stabilizes temperature swings and extends your ice life by hours, sometimes days.
You start with solid insulation and layer pre-chilled items directly on your base ice, then pack more ice around them to eliminate air gaps. This dense configuration traps meltwater where it continues conditioning the space through contact cooling.
You add an interior barrier, like a foam pad or folded towel, to separate food from slush while preserving the thermal benefits. Limiting how often you open the lid keeps that mass undisturbed, and your ice lasts noticeably longer.
Drain Plug Strategy
Why drain what you can use? That meltwater stays cold, adding insulation between remaining ice and warm air. You’ll keep drinks chilled longer without sacrificing precious frozen mass.
When using dry ice, you’ll need venting. Partially open the drain plug to release CO2 buildup, a safety must that still blocks heat inflow. I’ve skipped this once; the pressure popped my lid open at 2 AM.
For block ice, slide it into a dry bag. You’ll contain meltwater, prevent soggy sandwiches, and maintain cleaner cold distribution. Place dry ice on cardboard at the bottom, keeping space between it and contents. You load bottom-to-top, coldest items lowest.
Only drain when water reaches mid-cooler level. You’re trading convenience for longevity, and that’s usually worth it.
Freeze Saltwater Bottles for Longer-Lasting Ice
How do you stretch your ice supply without constantly running to town? You freeze saltwater bottles for extended cooling that outlasts regular ice. Start by mixing about 2 tablespoons of salt per liter of water. Saltwater has a lower freezing point, so your bottles won’t turn rock-solid. They’ll stay slushy, but that’s the point: you get longer ice retention in your camping cooler.
I learned this the hard way after my freshwater bottles thawed halfway through day two. Saltwater bottles kept my food cold through day three. Color-code them, green for salt, clear for fresh, so you don’t accidentally sip brine. Once melted, you’ve got emergency drinking water (the fresh ones, obviously). This simple freezing trick cuts your ice runs in half.
Recommended Products

XL REUSABLE ICE PACK - Set includes 4 slim ice packs for lunch boxes. Sized at 4.75” x 0.5” x 7” their ultra-thin design slides easily into any bag for max chill without the bulk. Made in neutral colors to match our stylish fit & fresh lunch bags.

LARGE SIZE - This is a LARGE, high performance ice pack. AZ Ice will NOT fit in lunch boxes or small coolers. Please note the measurements BEFORE purchase.

Slim Lightweight and Long Lasting - Set of 4 slim, reusable, and versatile hard gel ice packs for cooler. Each ice pack measures 7 x 4.7 x 0.5 inches. Keep your insulated cooler bag freezer-cold for longer!
Add a Second Cooler Just for Drinks
Saltwater bottles buy you time, but you’re still opening that cooler every time someone wants a cold drink. You fix this by bringing two coolers. Reserve your main cooler for food and perishables, and load beverages into a separate cooler entirely.
This simple split changes your ice retention completely. I’ve watched friends burn through twenty pounds of ice in two days because seventeen people kept cracking the lid for soda. With a drinks-only setup, you contain that traffic. Your food stays buried under unmelted ice while friends raid the beverage stash.
For maximum cooling efficiency, fill gaps around cans with loose ice and add an insulating cover inside.
On multi-day trips, two coolers let you manage resources strategically. Your perishables stay safer. Your drinks stay cold. Everyone wins.
Recommended Products

Protect Little Ones From Hot Seats: Don't allow intense heat to compromise your child's comfort. Our kids car seat cooling pad cools down the seats within minutes making it an ideal car seat cooler for protecting babies sensitive skin and preventing burns.

The Cobalt 25 Quart cooler is the perfect versatile cooler solution. This is easily one of our most popular sizes of cooler and the Cobalt is easily the most affordable roto-molded option in this size on the market today. This is the perfect ice chest for camping, traveling to the beach, outdoor activities, family barbecues or just to keep your drinks cold on your front porch.

KEEP IT COOL WITH CANS AND ICE: The SHITI backpack cooler is built to store up to 6 cans with ice, offering exceptional cooling for all your adventures. With its soft body and 24 hour insulation, you can keep your drinks ice cold all day while hiking, tailgating, or spending the day at the beach. Put the party on your back and carry your cold drinks wherever you go!