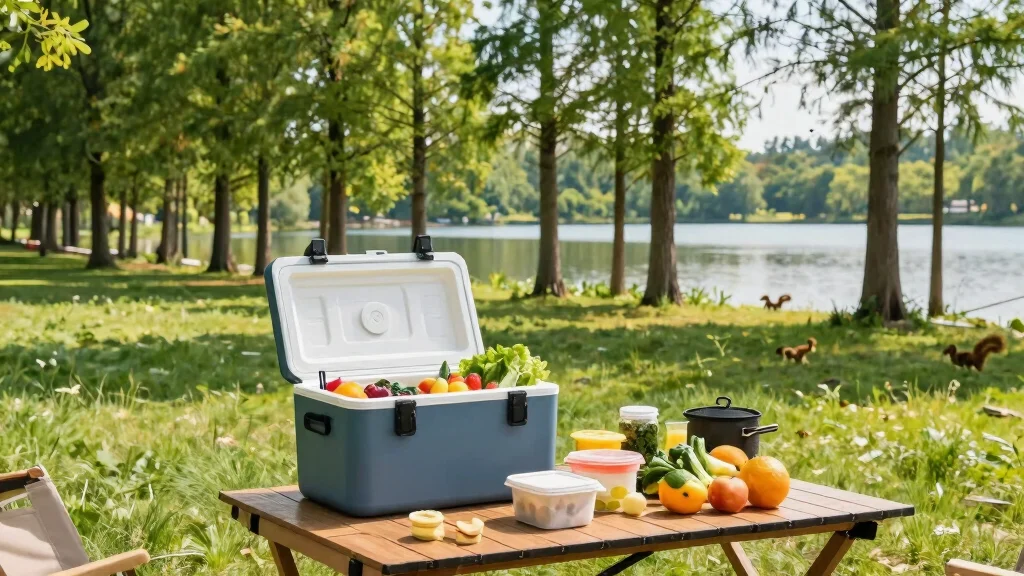
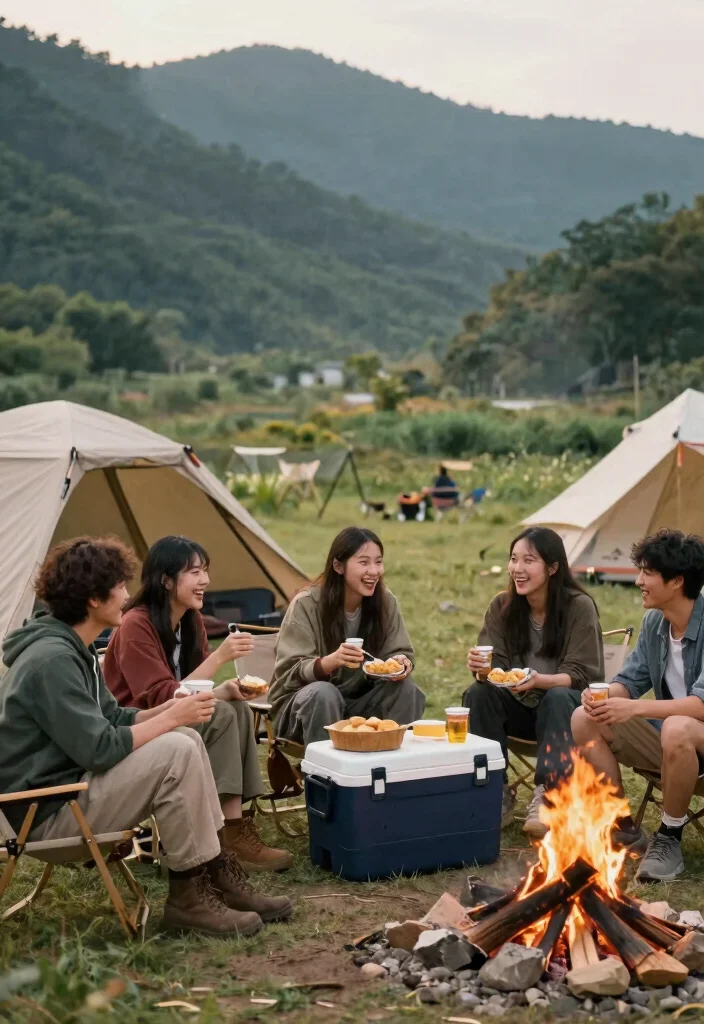
Camping often brings to mind the sound of crackling campfires, the smell of fresh pine, and the joy of being surrounded by nature. Yet, nothing puts a damper on an outdoor adventure like discovering that your ice has melted, and your food has spoiled. That’s why I created this guide—it’s here to help you maximize your camping ice chest and keep everything fresh.
If you’re someone who loves camping and outdoor adventures, this post is for you. You care about enjoying delicious, fresh meals while minimizing waste, and you want to make the most out of your cooler. I’ve gathered 15 practical camping ice chest hacks that are eco-friendly, easy to implement, and will keep your ice longer while ensuring your food stays fresh.
From creative insulation methods to smart food layering techniques, each hack is designed to enhance your camping experience by helping you maintain a cool, refreshing supply of food and drinks. Whether you’re a seasoned camper or just starting out, these tips will provide you with effective strategies to enjoy your outdoor meals without the hassle of soggy sandwiches or lukewarm drinks. Get ready to dive into these valuable hacks that will transform the way you store food while camping!
Key Takeaways
– Pre-chilling your cooler before packing significantly boosts ice retention and keeps your food fresher for longer during your trip.
– Choosing the right type of ice, like block ice instead of cubed ice, can greatly enhance the cooling duration and effectiveness of your ice chest.
– Layering your food wisely in the cooler helps maintain freshness, allowing for better air circulation and optimal cooling performance.
– Using natural insulation materials like blankets or towels around your cooler can protect it from heat and extend the lifespan of your ice.
– Investing in quality coolers designed for insulation will pay off in the long run, ensuring that your food and drinks remain cold, which makes for a more enjoyable camping experience.
1. Pre-Chill Your Cooler
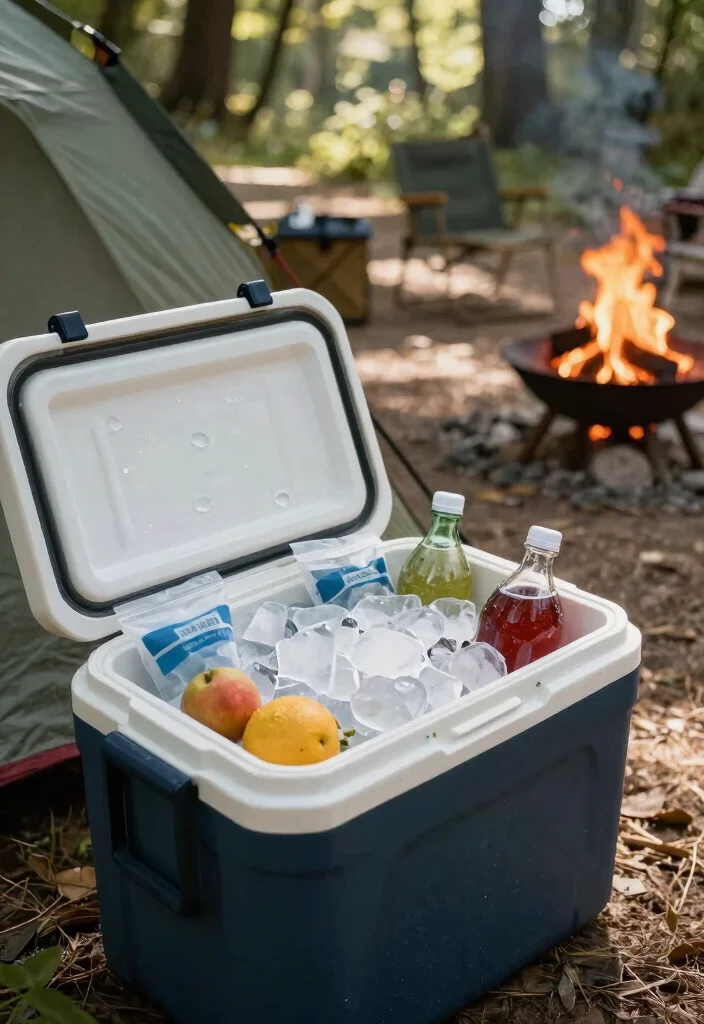
Want to keep your ice lasting longer? Pre-chilling your cooler is a fantastic trick that sets you up for success. By cooling your cooler before your trip, you create a lower starting temperature, making ice retention more effective. Just a few hours before you leave, toss in some ice packs or bags of ice to get your cooler chilled out. It’s like giving your cooler a refreshing boost!
Start by filling your cooler halfway with ice packs or bags of ice. Close it up and let it sit for at least 2-4 hours. When you’re ready to pack, simply remove the ice before adding your food. This ensures your food stays cooler longer, avoiding competition with any warmer air inside.
Key steps to get started:
– Fill your cooler with ice packs or bags
– Let it chill for 2-4 hours
– Remove ice before packing food
This pre-chilling hack is a game changer for ensuring your ice lasts longer and food stays fresh!
Pre-Chill Your Cooler
Editor’s Choice

Below Zero Prefilled Reusable Ice Packs for Coolers | Long Lasting Freez…

Below Zero Deluxe Stainless Steel Reusable Cooling Pack | Durable Ice Pa…

RTIC Refreezable Reusable Cooler Ice Packs Cold Ice Chest Pack Long-Last…

Reusable Ice Packs for Coolers Long Lasting Gel Freezer Packs for Cooler…
2. Choose the Right Ice
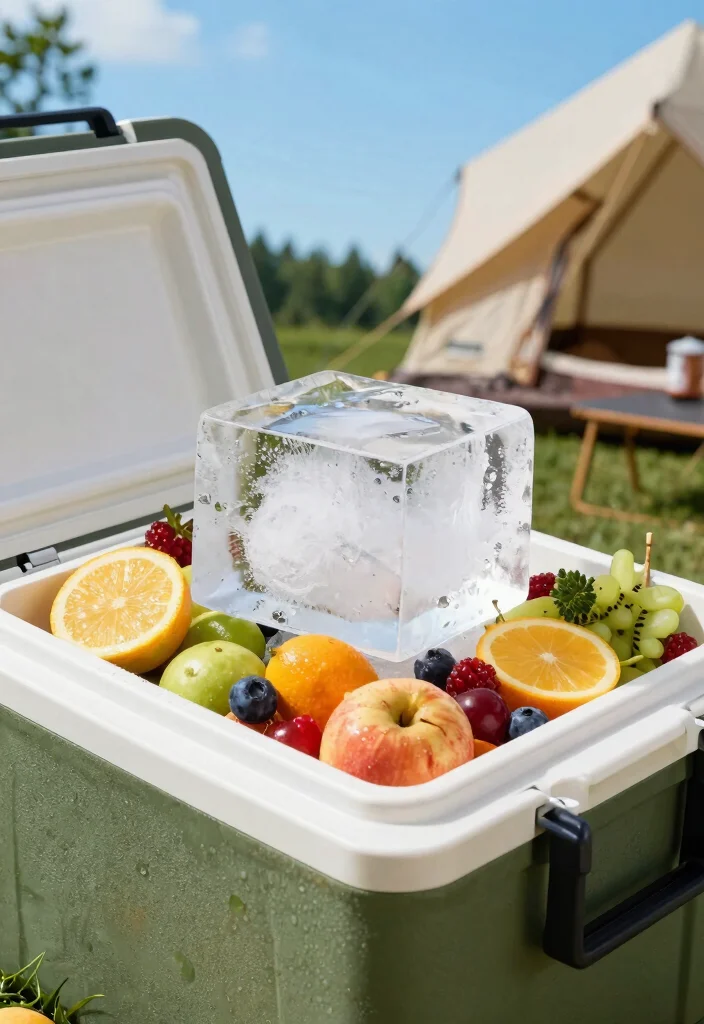
Did you know that not all ice types are equal? Choosing the right ice can drastically improve how long your cooler keeps items cold. Regular ice cubes melt quickly and can lead to a soggy mess. Instead, opt for block ice!
Block ice melts slower due to its larger surface area, keeping your cooler colder for a longer time. You can easily make block ice at home using large containers or buy it from local stores.
Why block ice matters:
– Melts slower, providing longer cooling
– Takes up less space for food storage
Alternative ice options:
– Freeze water bottles or soda cans for dual-purpose cooling
– Use reusable gel packs for an eco-friendly solution
By switching to block ice, you’ll notice a considerable improvement in your cooler’s performance and food safety.
Fun fact: Block ice can keep your cooler cold for up to 24 hours longer than regular ice cubes, cutting soggy mess by half. For practical camping ice chest hacks, make block ice at home or buy it locally.
Choose the Right Ice
Editor’s Choice

6Pack 48LB Extra Large Ice Block Molds, Silicone Large Ice Cube Molds fo…

Extra Large Ice Block Mold 4-Pack (32LB) with Lids, Reusable Silicone Ic…

Extra Large Ice Cube Molds 4Pack 32LB Silicone Large Ice Cube Molds for …

Gosmol Extra Large Ice Block Mold – Ice Cubes for Cold Plunge or Coolers…

Kamehame Ice Block Mold, Extra Large Ice Cube Mold for Ice Bath, XXL Ice…
3. Use Reflective Materials
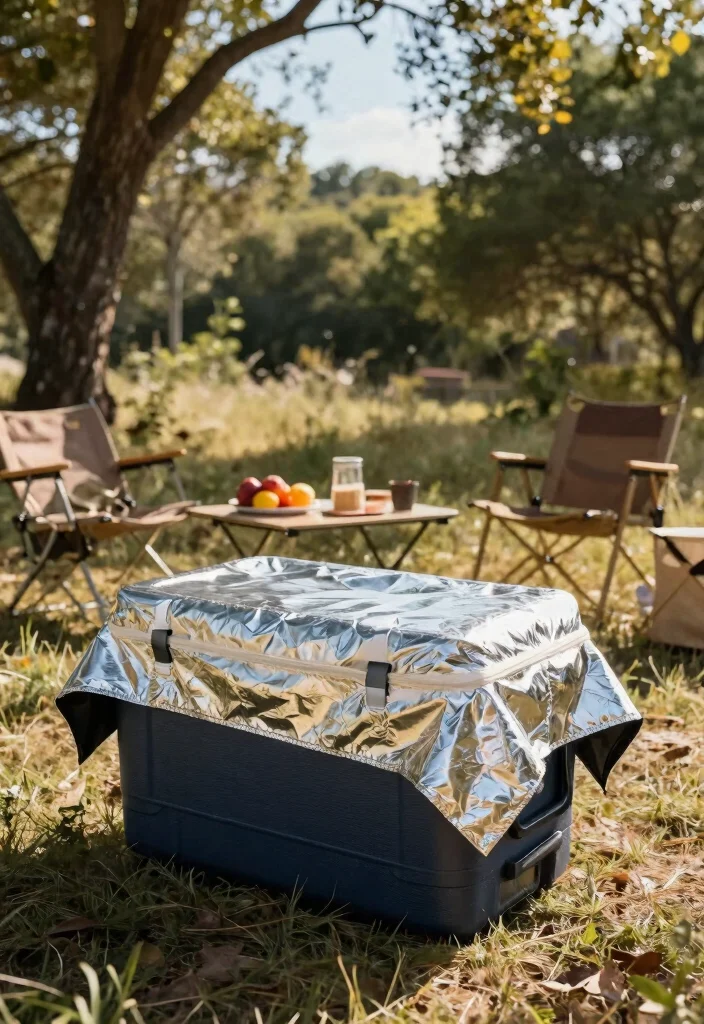
Want to keep your cooler even cooler? Reflective materials can help! Covering your cooler with a reflective blanket or a space blanket can shield it from the sun’s rays, preventing heat from warming it up.
To do this, simply drape a reflective blanket over your cooler and secure it if needed. Positioning your cooler in shaded areas will enhance its cooling effects. This simple hack greatly boosts your cooler’s performance and adds insulation to keep everything fresher.
Benefits of reflective materials:
– Reduces heat from direct sunlight
– Eco-friendly method that requires no power
This small change can make a big difference, especially during hot summer camping trips.
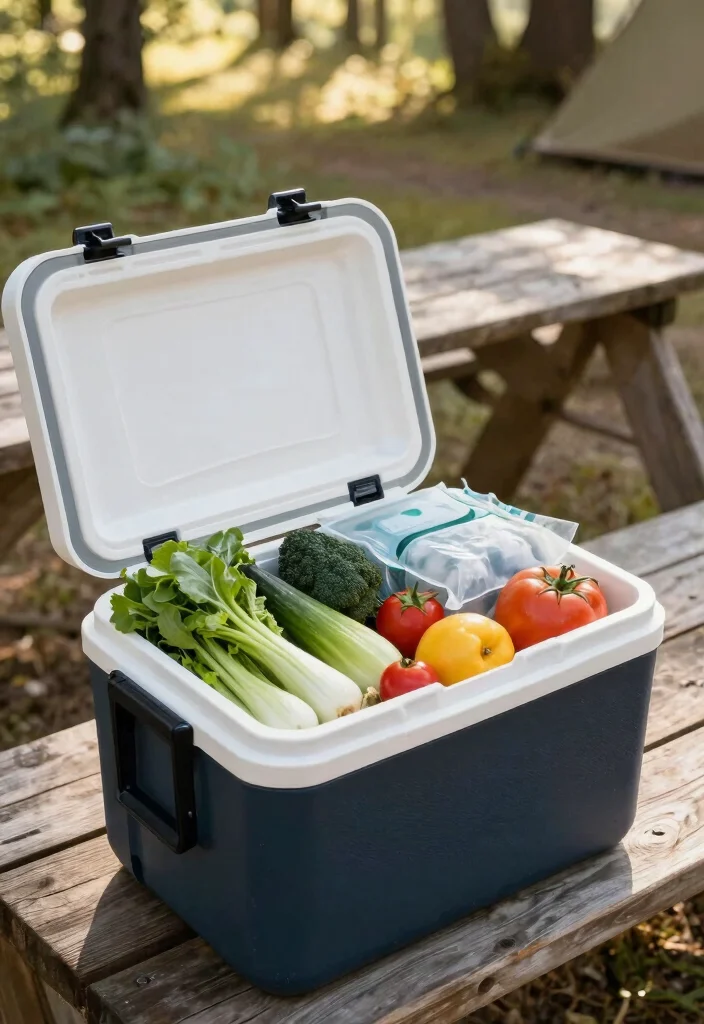
4. Layer Your Food Wisely

Packing your cooler wisely can significantly impact how well it retains temperature. Start with heavier items at the bottom and lighter ones on top for optimal airflow. This method allows cold air to circulate freely and prevents delicate foods from getting squished.
Smart packing tips include:
– Begin with a layer of ice or ice packs
– Place meats and dairy at the bottom
– Add veggies and drinks on top, as they are less sensitive to temperature
Additional hacks:
– Use dividers to keep different items separate
– Group similar items together for easier packing and unpacking
By layering your food strategically, you maximize cold retention and minimize spoilage during your adventures.
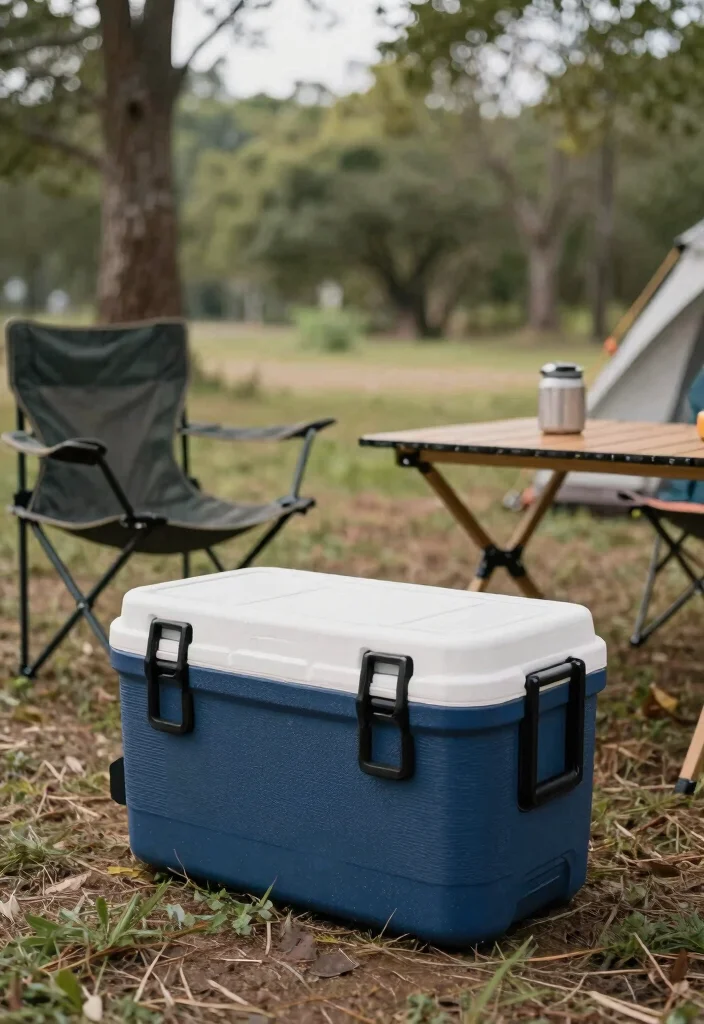
5. Invest in Quality Coolers
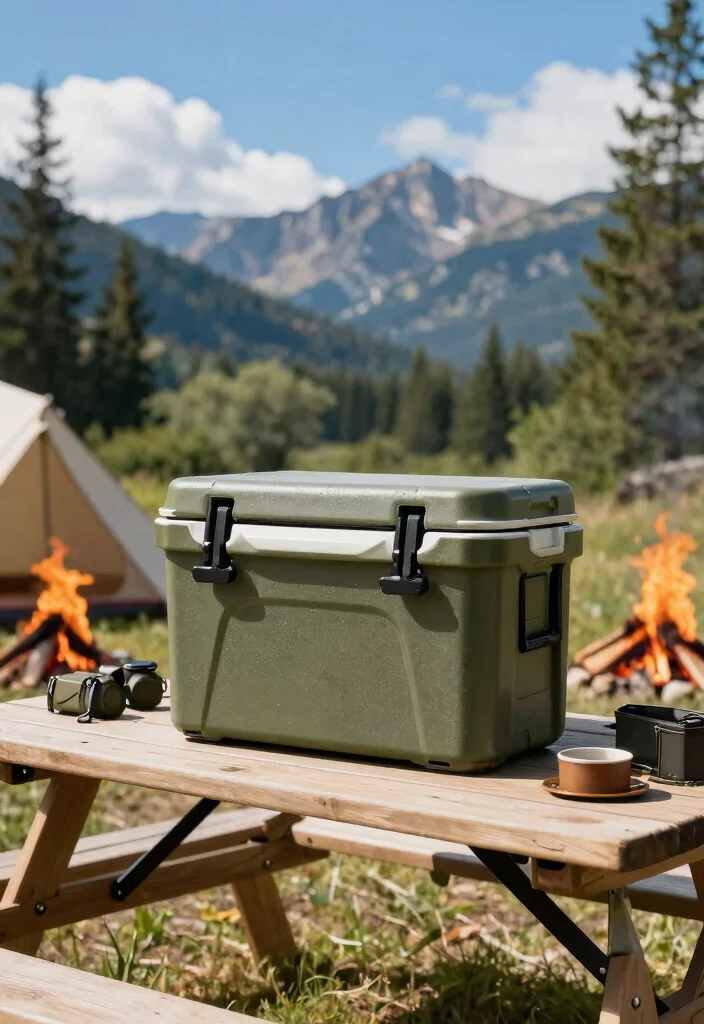
Sometimes, investing in a high-quality cooler can elevate your camping experience. While premium coolers may be pricier, they often offer superior insulation and longer ice retention.
Look for coolers with thicker walls, better seals, and durable materials to withstand outdoor conditions. Brands like YETI and Pelican are known for their reliability and performance.
Consider these factors when purchasing a cooler:
– Size: Choose one that fits your camping needs
– Insulation: Opt for high-density foam insulation
– Portability: Look for features like wheels or sturdy handles
Investing in a quality cooler enhances your camping experience and ensures your food stays fresh and delicious throughout your trip.
How To Choose The Right Camping Ice Chest
When planning your outdoor adventures, selecting the right camping ice chest is essential for keeping your food fresh and your drinks cool. With so many options on the market, it’s vital to consider a few key factors that will ensure you pick the perfect cooler for your needs.
1. Size Matters
Choosing the right size cooler is crucial. Consider how many people you’re camping with and how much food and drinks you plan to store. A general rule of thumb is to allow for 1 to 1.5 quarts of cooler space per person. If you’re going for a longer trip, or want to bring extra supplies, a larger cooler may be necessary.
2. Material Quality
Coolers come in different materials, including plastic, metal, and soft-sided options. High-density polyethylene is common for hard coolers, as it’s durable and lightweight. If you’re seeking eco-friendly options, look for coolers made from recycled materials or those with eco-friendly insulation. Soft coolers are great for portability but may not retain ice as long as hard coolers.
3. Ice Retention Features
When choosing a cooler, pay attention to its ice retention capabilities. Some coolers come with enhanced insulation thickness or vacuum-sealed lids that keep the cold air in. Look for models that boast multi-day ice retention, especially if you plan to be off the grid for a while.
4. Portability
Consider how you’ll transport your cooler. If you plan on hiking to your campsite, a lightweight, compact cooler is beneficial. Alternatively, for car camping, a larger, heavier cooler may be acceptable. Ensure your cooler has comfortable grips or wheels for easier transport.
5. Price and Brand
Coolers can range from budget options to high-end brands. Set a budget that fits your needs and research reputable brands known for quality. Investing in a reliable cooler can save money in the long run by reducing ice costs and preventing food spoilage.
6. Additional Features
Look for extra features that might enhance your camping experience. Drain plugs allow for easy cleaning, while built-in bottle openers come in handy. Some coolers even have compartments for dry goods or are designed to serve as a table. Think about what features matter most to you.
💡 Pro Tip: When you find a cooler that fits your needs, read customer reviews and check for warranty options. A quality cooler is an investment, and knowing you’re covered if something goes wrong can provide peace of mind on your outdoor adventures.
6. Utilize Natural Insulation

For eco-conscious campers, natural materials can be a great way to enhance insulation. Packing your cooler with towels, blankets, or mylar space blankets can improve cooling efficiency.
How to use natural insulation:
– Line the cooler with towels or blankets before adding food and ice
– This absorbs moisture and keeps the cooler contents cooler
This method is beneficial for reducing waste, as you can use items you already have while keeping your food fresh. Plus, these materials can serve multiple purposes during your trip!
Bonus hack:
– Use biodegradable materials like straw or hay if camping in remote areas.
This eco-friendly approach keeps your food fresh and makes your camping experience satisfying.
7. Keep Drinks Separate
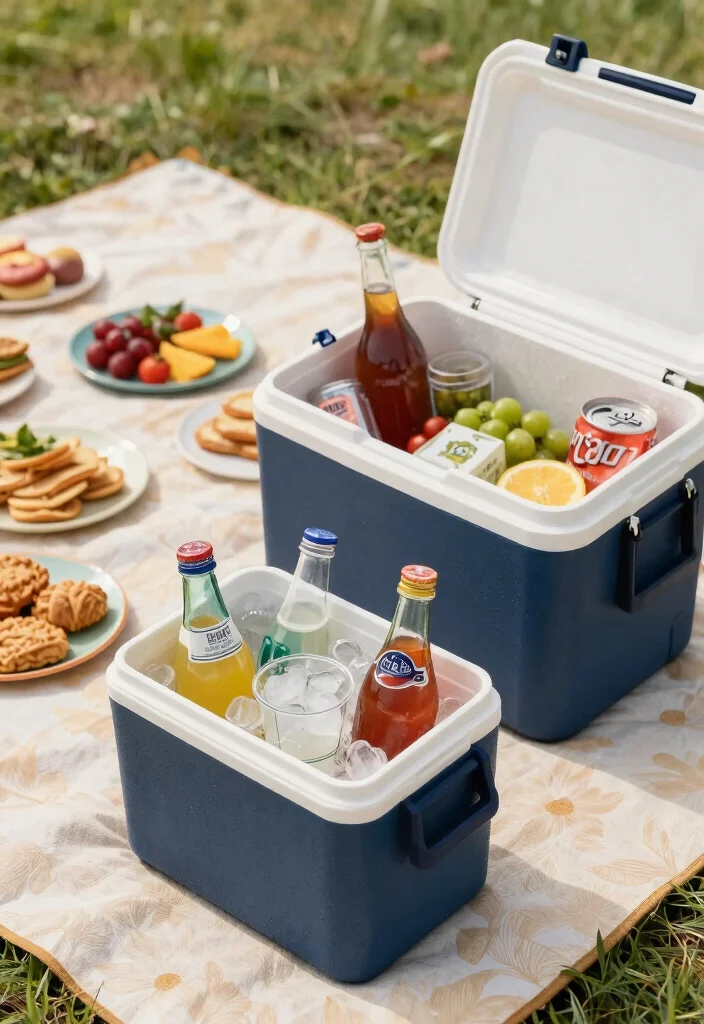
Drinks can take up valuable space and lead to faster ice melting. To keep your ice lasting longer, store drinks in a separate cooler or insulated bag. This allows your main cooler to focus on keeping food cold.
How to do it:
– Fill a smaller cooler or insulated bag with drinks and ice
– Minimize the frequency of opening your main cooler
Keeping drinks separate also makes grabbing beverages easier without rummaging through food!
Additional tips:
– Set up a designated drink station at your campsite
– Use reusable ice packs to reduce waste
This hack ensures your ice stays effective while making hydration effortless during your outdoor adventures!
8. Use Salt to Lower Freezing Point

Here’s a fun science hack! Salt not only adds flavor to your food but can also lower the freezing point of ice. Mixing salt with ice creates a slushy mixture that keeps your cooler colder for longer.
How to do it:
– Fill your cooler with ice and add about 1 cup of salt
– Mix gently to ensure even distribution
This salty solution slows down ice melting, keeping your items cooler for extended periods, especially on hot days.
Bonus tip:
– This trick is useful for coolers with less insulation!
This creative approach combines food preservation with chemistry, ensuring your camping gear works effectively against the heat!
9. Avoid Ice-Heavy Foods
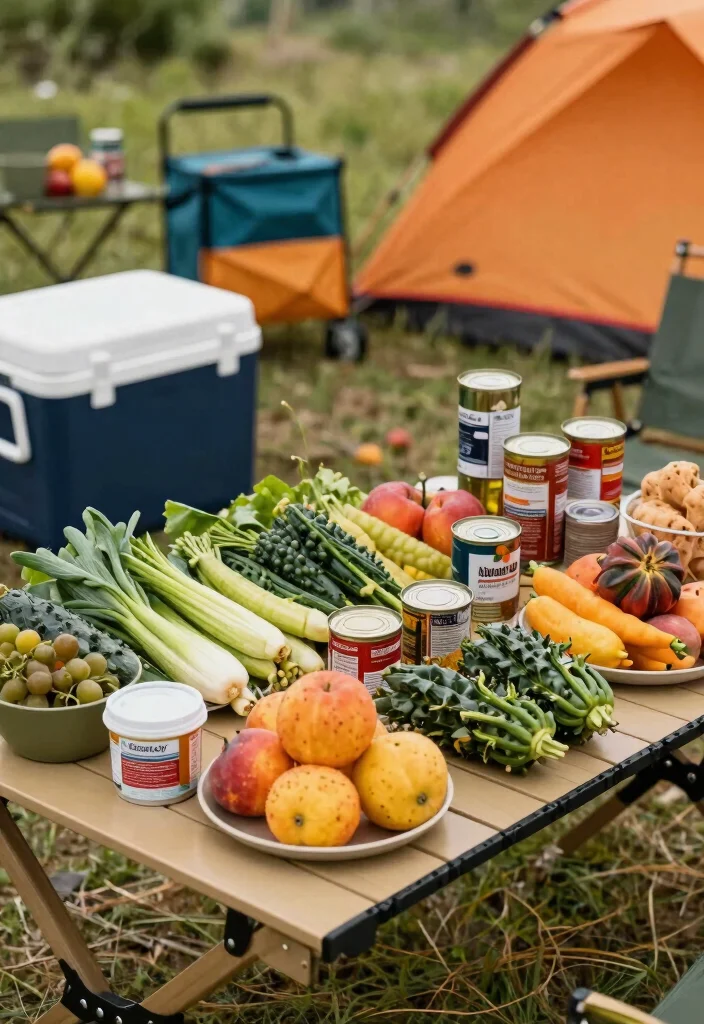
When packing your cooler, consider steering clear of ice-heavy foods that spoil easily. Items like mayonnaise-based salads or dairy can quickly go bad and require more ice. Instead, opt for more durable food options.
Ideal alternatives include:
– Whole fruits and veggies like apples, carrots, and bell peppers
– Canned foods or vacuum-sealed options that are travel-friendly
By choosing smarter food options, you lighten the load on your cooler while creating exciting meals that are easy to prepare outdoors.
Bonus insight:
– Incorporate foods that taste great at room temperature to save on ice.
This hack keeps your cooler lasting longer and makes meal prep simple and hassle-free!
Avoid Ice-Heavy Foods
Editor’s Choice

FoodSaver PowerVac Compact Vacuum Sealing Machine Stainless Steel & Blac…

FRESKO Vacuum Sealer Machine with Automatic Bag Detection, Double Heat S…
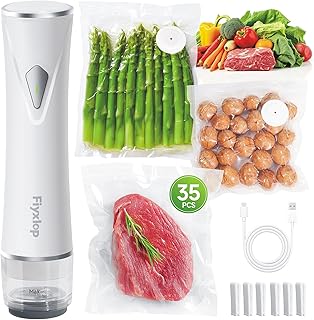
Handheld Vacuum Sealer, Premium Vacuum Sealer for Food + 35 Reusable Sou…

Cooler Shock Reusable Ice Packs for Cooler – Long Lasting Cold Freezer P…
10. Freeze Meals Ahead of Time
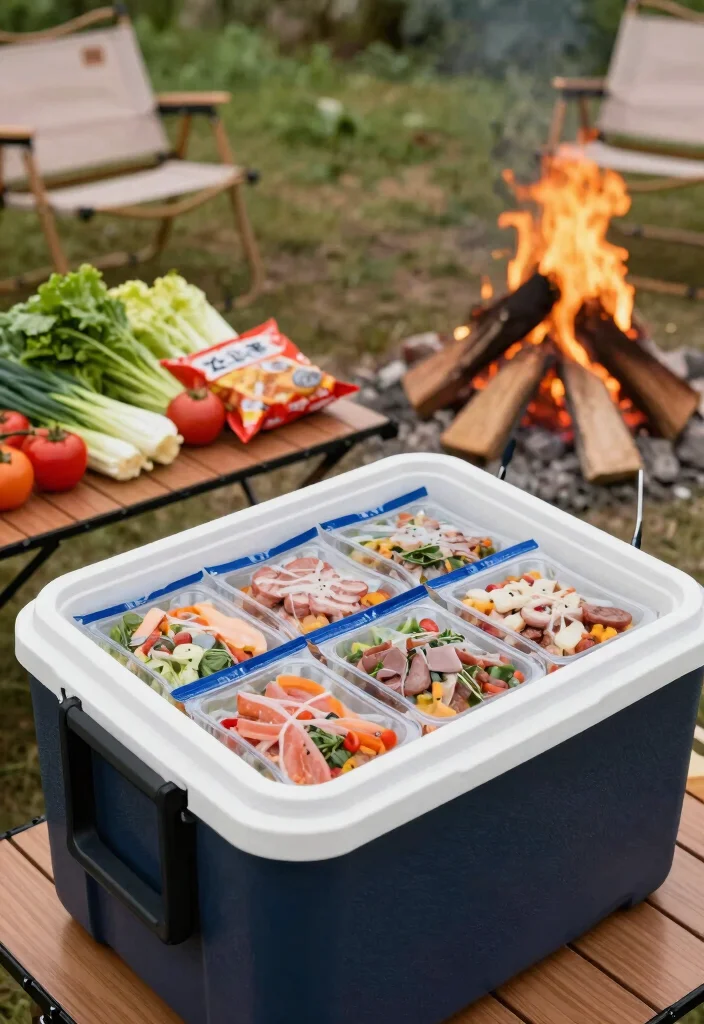
Meal prepping is a powerful trick for keeping food fresh during camping trips. Freezing meals ahead of time provides dual benefits: they stay colder longer and are ready to eat!
Steps to freeze meals:
– Prepare meals in advance and portion them into freezer bags
– Freeze overnight before your trip
When you pack these frozen meals as the top layer, they help keep other foods cold while thawing gradually throughout your adventure. This ensures your food remains fresh without worrying about spoilage.
Meal ideas:
– Chili, stir-fries, and pasta dishes work well
– Include salads and snacks for variety
This hack allows you to enjoy homemade meals without cooking on-site, making your camping experience stress-free!
11. Keep the Cooler Closed
It may seem simple, but keeping your cooler closed as much as possible is one of the best ways to preserve ice. Each time the lid opens, warm air creeps in and cold air escapes.
Plan your meals and snacks ahead to minimize cooler access.
Practical tips include:
– Appoint a ‘cooler master’ to manage contents
– Use a smaller snack cooler for easy access
This strategy not only retains ice but also keeps your food fresher, enhancing your overall camping experience!
12. Opt for Eco-Friendly Ice Packs
Instead of traditional ice, consider using eco-friendly ice packs. These reusable packs filled with non-toxic gel or water provide a great alternative that keeps your food chilled without the mess of melting ice.
How to use them:
– Freeze the ice packs beforehand and pack them in your cooler
– Layer them between food items for optimal cooling
They reduce waste and save space, allowing you to pack more food. Plus, they are reusable; just wash them for your next trip!
Why they rock:
– Available in various shapes and sizes for different coolers
– More efficient than loose ice with no mess!
Incorporating eco-friendly ice packs into your camping prep moves you closer to a sustainable outdoor experience.
Opt for Eco-Friendly Ice Packs
Editor’s Choice

Cryopak 4 Large Multi Purpose Reusable 12×17 Non Toxic Ice Blanket Freez…

Arctic Zone Titan Deep Freeze Ice Pack- (2 Pack) 600 Gram High Performan…

Engel 32°F Cooler & 5°F Freezer Packs – Made in The USA – Ice Packs for …

Rapid Performance Reusable Ice Packs for Coolers or Lunch Box | 4 Pack |…
13. Keep Your Cooler Elevated
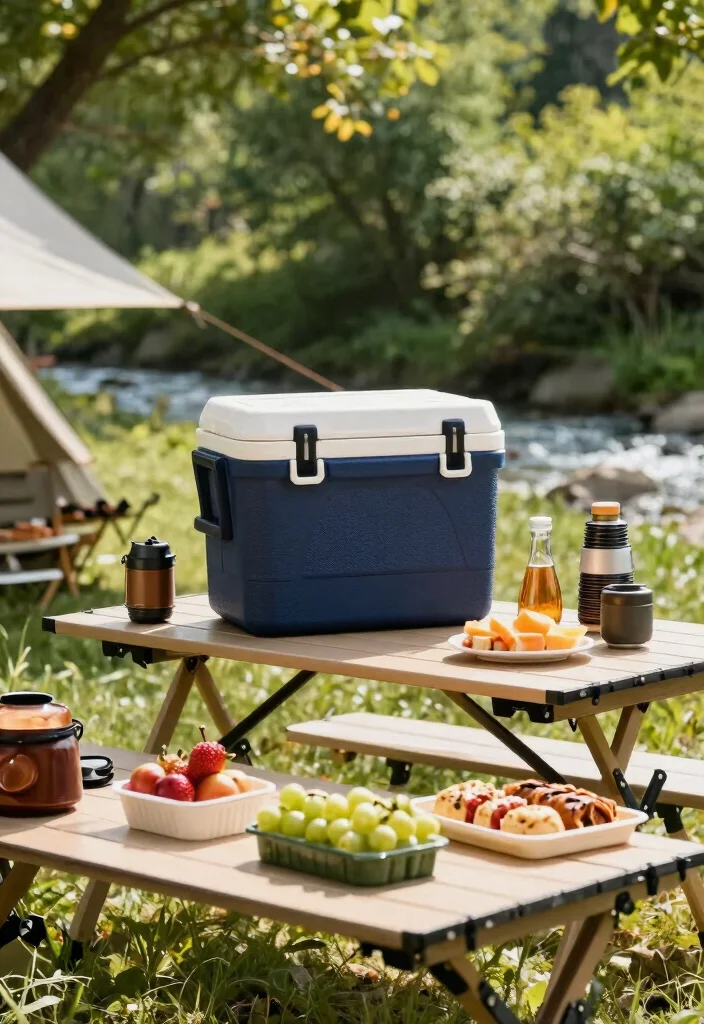
Elevating your cooler off the ground can enhance its cooling efficiency. By placing it on a picnic table or platform, you reduce heat absorption from the ground.
How to elevate your cooler:
– Use a table, crate, or camping chair to raise it
This simple step helps maintain temperature, especially on hot days. Plus, it makes it easier to access your cooler without bending down!
Additional tip:
– Keep it in a shaded area to maximize effectiveness.
This small adjustment can significantly extend ice retention while keeping your food fresh.
❝ Pro tip for camping ice chest hacks: elevate your cooler off the ground on a table or crate to cut heat absorption and keep ice longer. It’s a simple move that saves bending and boosts cooling—plus, shade helps even more. ❞
14. Plan Your Ice Needs

Before your camping trip, planning your ice needs according to trip duration and food amounts is essential. Consider how much ice you’ll require and how often you’ll need to replace it.
Tips for planning:
– Make a list of food items and estimate the ice needed for each
– Factor in your trip length to avoid running out
By understanding your cooler’s requirements, you prevent waste and ensure food safety throughout your adventure. Being prepared makes all the difference in enjoying your time outdoors!
Fun fact: When you plan your ice needs before a trip, you can cut waste by up to 40% and keep food safer. Make a list of items, estimate ice per item, and match it to trip length—your camping ice chest hacks pay off.
15. Embrace a Cool Airflow

Finally, consider the airflow around your cooler. Look for spots where a breeze can circulate to help maintain cooler temperatures. Avoid tight spaces or areas that trap heat.
Also, avoid stacking items on top of your cooler, as this can block airflow and reduce cooling efficiency. Instead, create an open space around your cooler to allow it to breathe.
Why this matters:
– Improved airflow leads to better heat dissipation
– Optimized temperature retention for a fresher experience
Being mindful of airflow can maximize your cooler’s capabilities, leading to a more enjoyable outdoor cooking and camping experience!
Embrace a Cool Airflow
Editor’s Choice
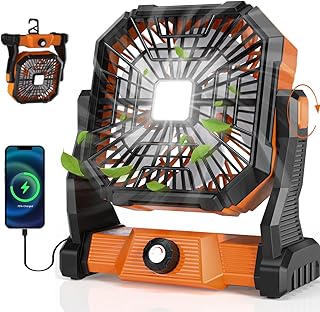
Portable Camping Fan,20000mAh Rechargeable Battery Powered Fan with LED …

Portable Camping Fan with 20000mAh Rechargeable Battery, USB-C Battery P…

KITWLEMEN 20000mAh Battery Powered Camping Fan – 58H Max Cooling, Rechar…
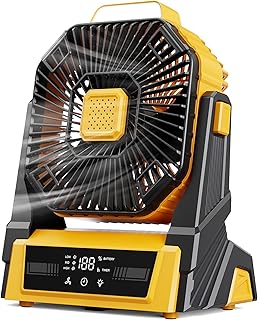
KopBeau Portable Camping Fan with Lights, 20000mAh Rechargeable Battery …

PANERGY 20000mAh Rechargeable Battery Powered Fan – 10″ Square Box Fan w…
Conclusion
With these 15 camping ice chest hacks, you’re well on your way to keeping your ice longer and your food fresh during your outdoor adventures. Each tip not only contributes to a sustainable camping experience but also enhances your time spent in nature with family and friends. Embrace these hacks for a more enjoyable journey and help preserve the outdoor environment we all cherish. Happy camping!
Remember, every small step counts in creating eco-friendly habits while enjoying the great outdoors.
Note: We aim to provide accurate product links, but some may occasionally expire or become unavailable. If this happens, please search directly on Amazon for the product or a suitable alternative.
This post contains Amazon affiliate links, meaning we may earn a small commission if you purchase through our links, at no extra cost to you.
Frequently Asked Questions
What are the top camping ice chest hacks to keep ice longer and food fresh?
Here are practical camping ice chest hacks to keep ice longer and food fresh:
Pre-chill your cooler and freeze several water bottles to use as ice and for drinking water—it’s a core camping ice chest hacks move.
Use a mix of large ice blocks and reusable ice packs for better ice retention and less meltwater.
Pack in layers: foods below the ice in airtight containers and keep the lid closed as much as possible to minimize heat exchange.
Add a simple insulated cooler tricks boost like a Reflectix wrap or a thick towel under the lid to cut heat gain.
Choose eco-friendly options: reusable ice packs instead of disposable bags and avoid extra waste.
If you can, dedicate a second cooler for drinks to reduce opening the main cooler—less air exchange means longer ice life.
With these techniques, your ice lasts longer and your camping food storage stays fresher.
How can I store camping food safely and efficiently to minimize waste while being eco-friendly?
Storing camping food safely and efficiently is essential to minimize waste and stay eco-friendly.
Keep perishable items under 40°F (4°C) and use a dedicated cooler with ice packs for meat, dairy, and seafood.
Store raw meats on the bottom shelf in leak-proof containers to avoid cross-contamination, and keep ready-to-eat items in airtight containers to prevent spills and odors.
Use reusable containers and bags for camping food storage, label leftovers, and date them so nothing spoils unnoticed.
Plan meals ahead and pack only what you’ll eat to reduce packaging waste and unused food, a smart camping food storage habit.
What are some budget-friendly cooler tips and insulated cooler tricks for hot-weather camping?
Hot weather doesn’t have to blow your budget. Try these practical, eco-friendly cooler tips and insulated cooler tricks:
Always keep the cooler in shade and, if possible, use a reflective cover or a simple insulated cooler tricks boost like a Reflectix wrap to reduce heat gain.
Add a secondary layer of insulation, such as a thick towel or foam pad, under the lid to slow warmth transfer.
Limit how often you open the cooler and pre-plan what you’ll grab to minimize air exchange.
Choose reusable ice packs or frozen juice boxes instead of disposable bags, and consider a low-cost second cooler for beverages to cut down main cooler openings.
Which outdoor cooking hacks pair best with ice chest hacks to extend freshness and flavor?
Pairing outdoor cooking hacks with ice chest hacks keeps meals tasty and safe:
Prep meals at home to minimize camp refrigeration time and pre-portion ingredients into airtight containers for easy cooking on the go.
Keep a separate prep cooler for utensils and cooking supplies to avoid cross contamination with food in the main cooler.
Store leftovers in sealed containers and reheat on a portable stove to stretch your cooled meals across days of camping.
Plan menus that don’t rely on long refrigeration and use camping ice chest hacks to maintain the freshness of ingredients while you cook.
How can I tell if my camping ice chest hacks are working and when should I upgrade?
You’ll know your hacks are working when ice lasts longer and you’re opening the cooler less often. Look for these signs:
Ice retention lasts several days instead of hours, and drinks stay cold without frequent ice top-ups. This is a win for ice retention techniques.
The cooler walls feel solid, the gasket seals well, and you’re not fighting heat transfer every time you reach in. If you notice more meltwater or warm corners, it may be time for an upgrade to a cooler with thicker walls and a tighter seal (think a higher insulated cooler performance).
When shopping for an upgrade, check insulation thickness, lid gasket quality, and look for a rating like ice retention hours to compare models.
Related Topics
camping ice chest hacks
ice retention techniques
cooler tips
outdoor cooking hacks
eco-friendly camping
food storage solutions
summer camping
beginner friendly
insulated cooler tricks
camping essentials
sustainable travel
easy camping tips